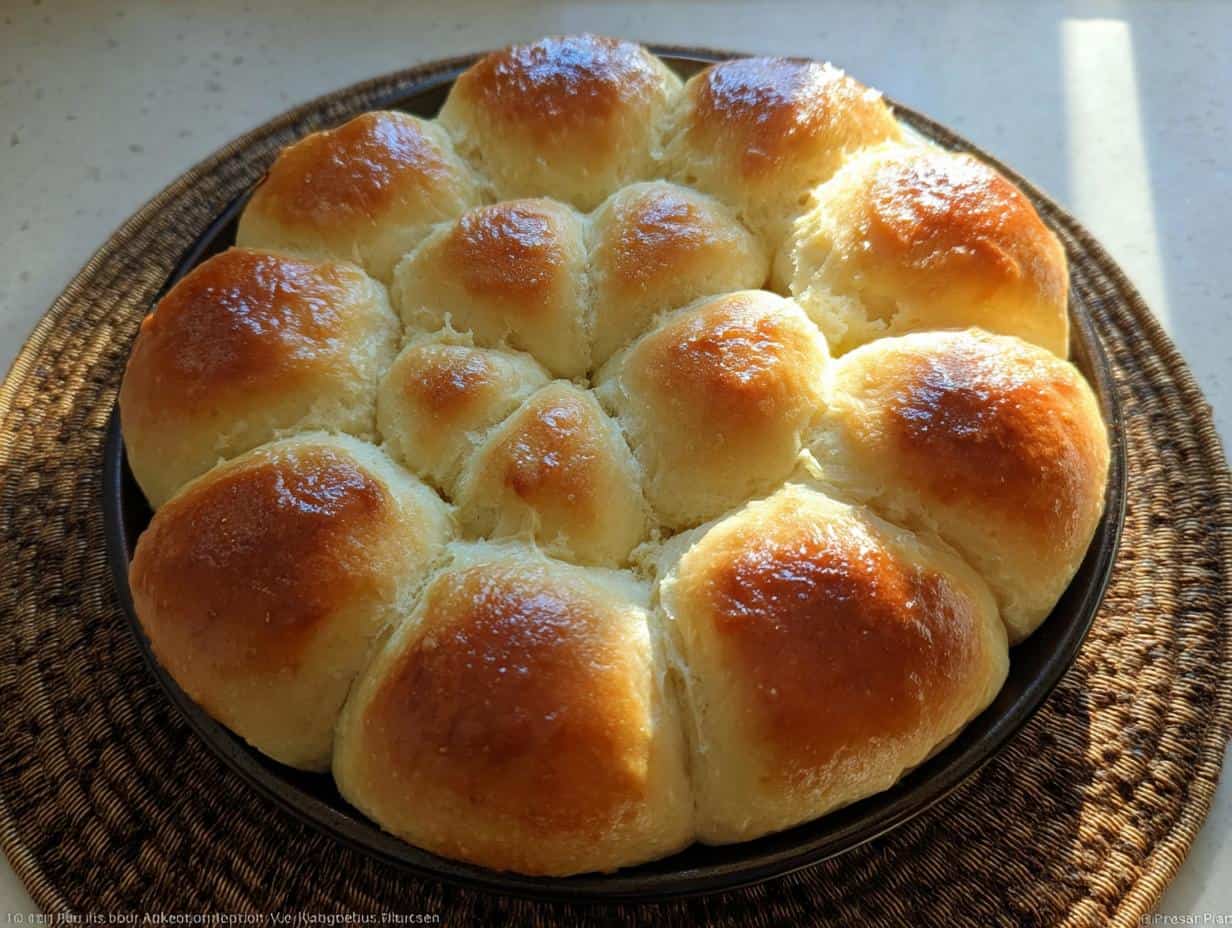
Thanksgiving! Oh, I just love it. The smells, the family, the… baking disasters? Yeah, let’s be real. For years, my biggest holiday stress wasn’t the crazy relatives, it was trying to bake something – *anything* – gluten-free that didn’t taste like cardboard. Seriously, gluten-free baking can be a HUGE challenge. I remember one year my “rolls” resembled hockey pucks. Yikes!
But don’t worry! Those days are GONE. I’ve finally cracked the code and I’m so excited to share my recipe for the *best* Gluten-Free Thanksgiving Rolls you’ll ever taste. I’m talking soft, fluffy, dare I say… perfect? I know, bold claim! But trust me, these Gluten-Free Thanksgiving Rolls are seriously delicious, and no one will EVER guess they’re gluten-free. Get ready to impress!
Why You’ll Love These Gluten-Free Thanksgiving Rolls
Benefits of Making Gluten-Free Thanksgiving Rolls
Soft and fluffy texture
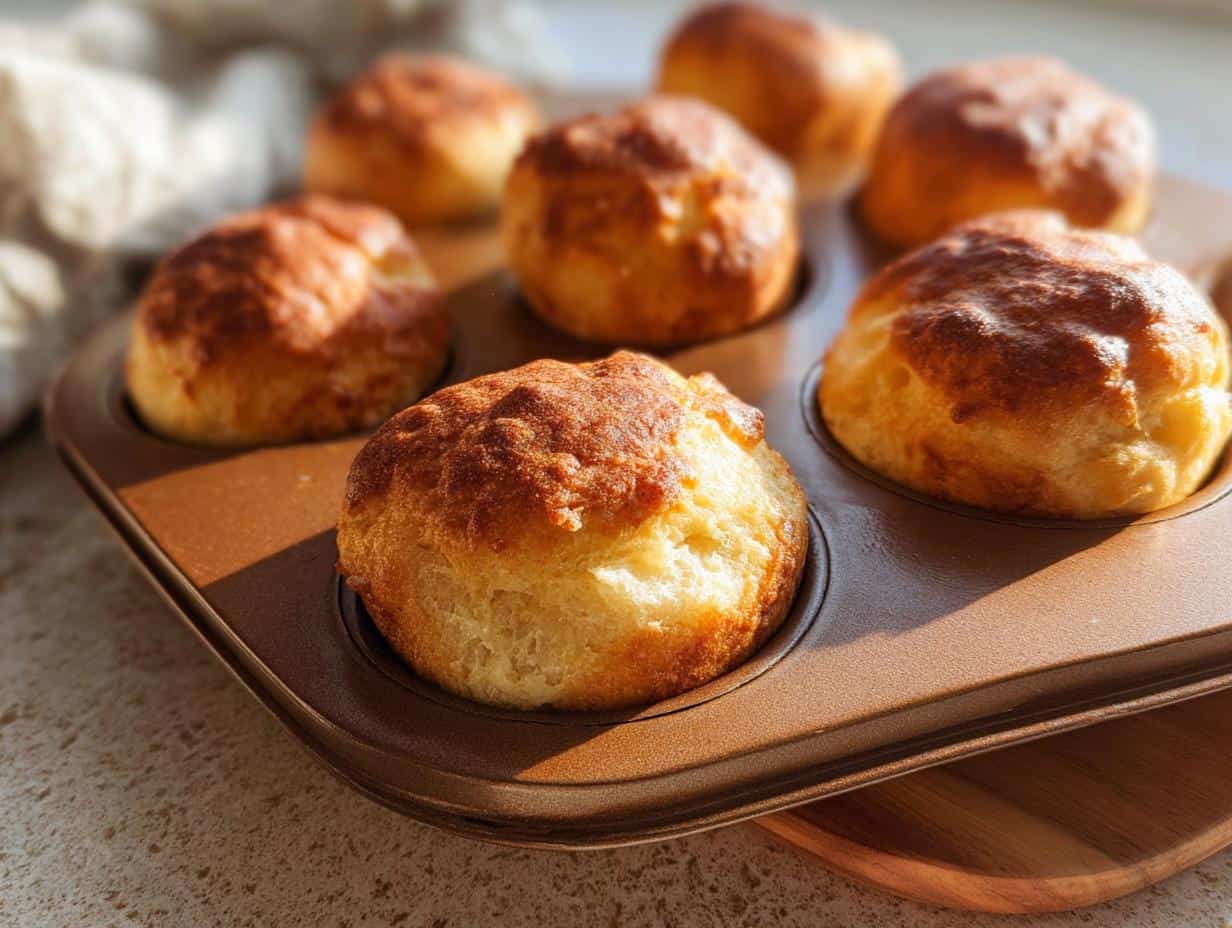
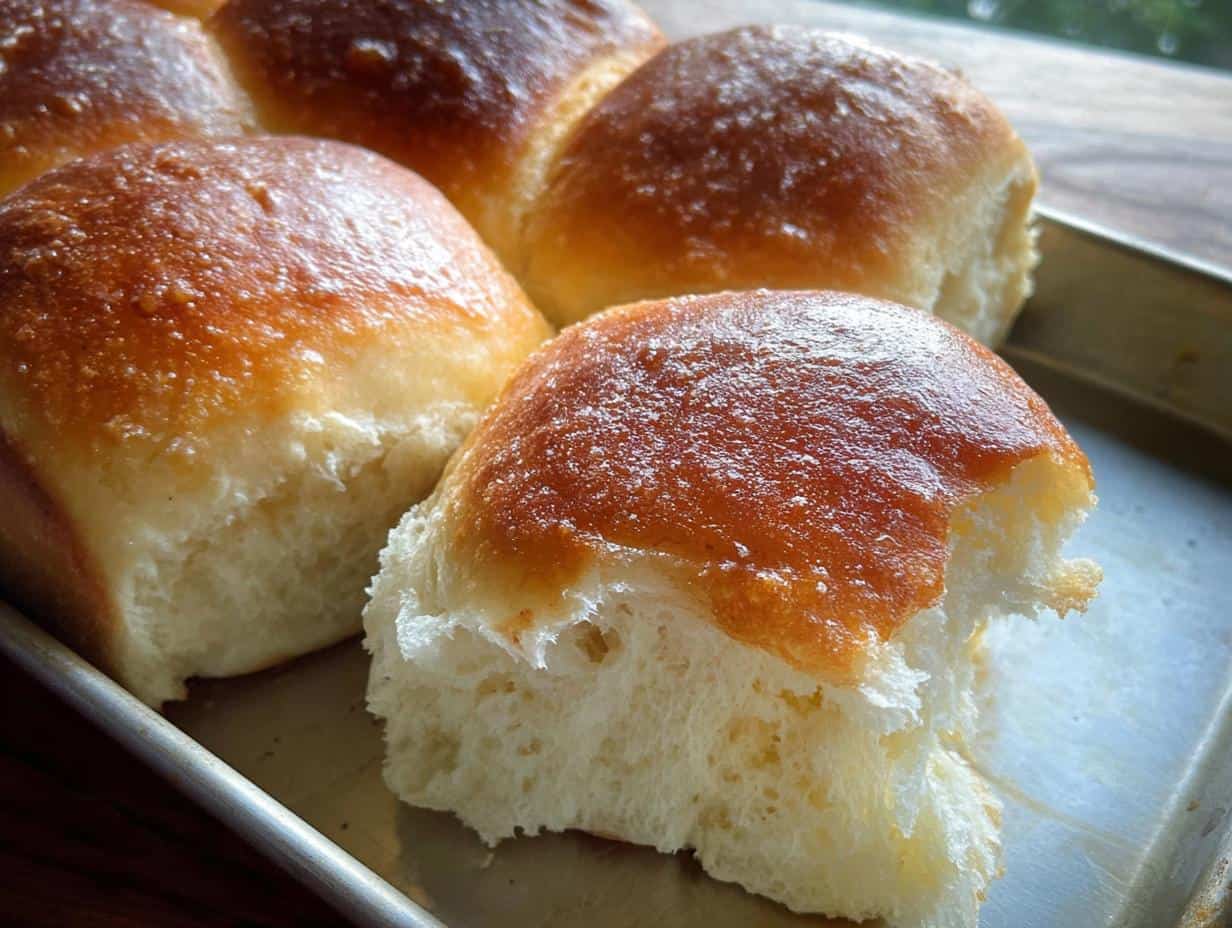
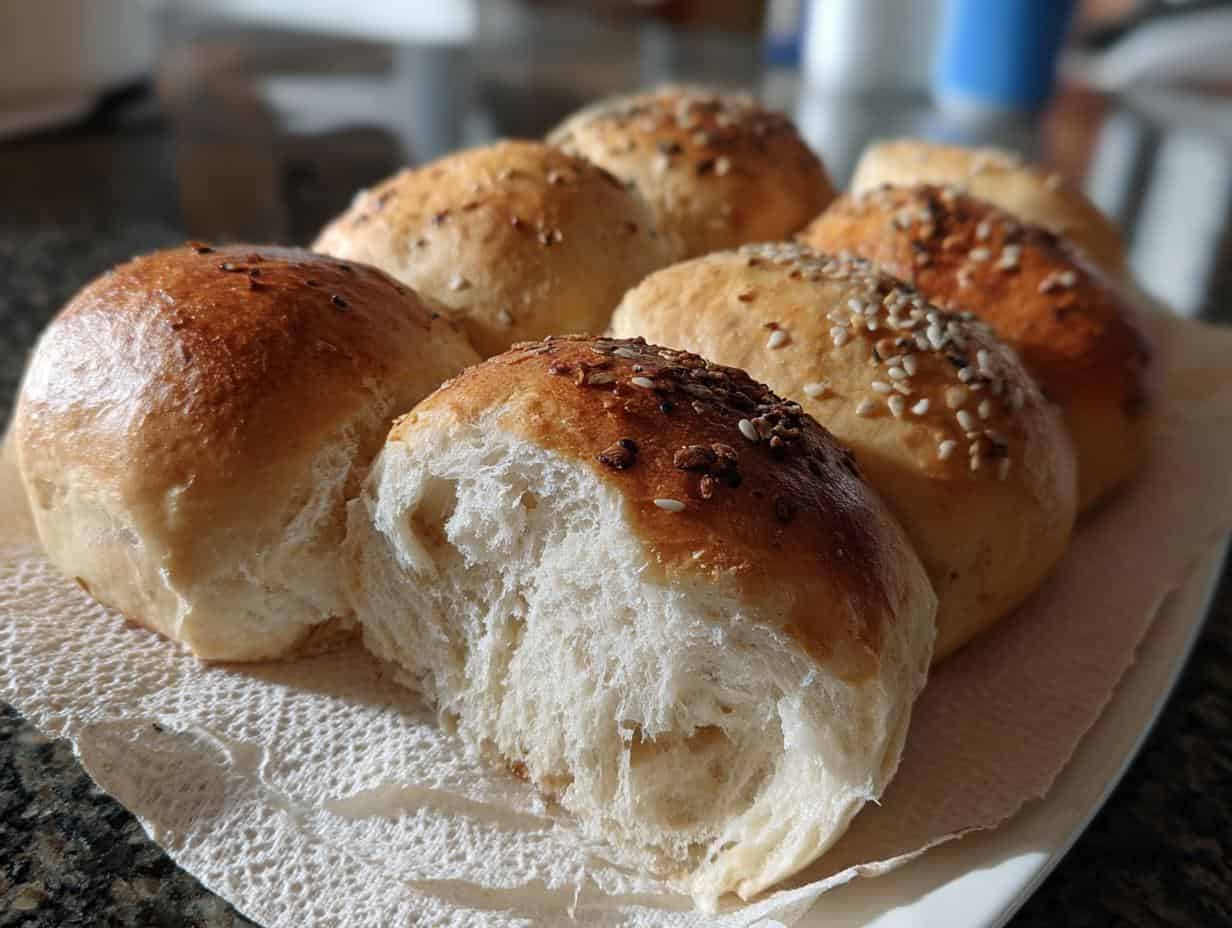
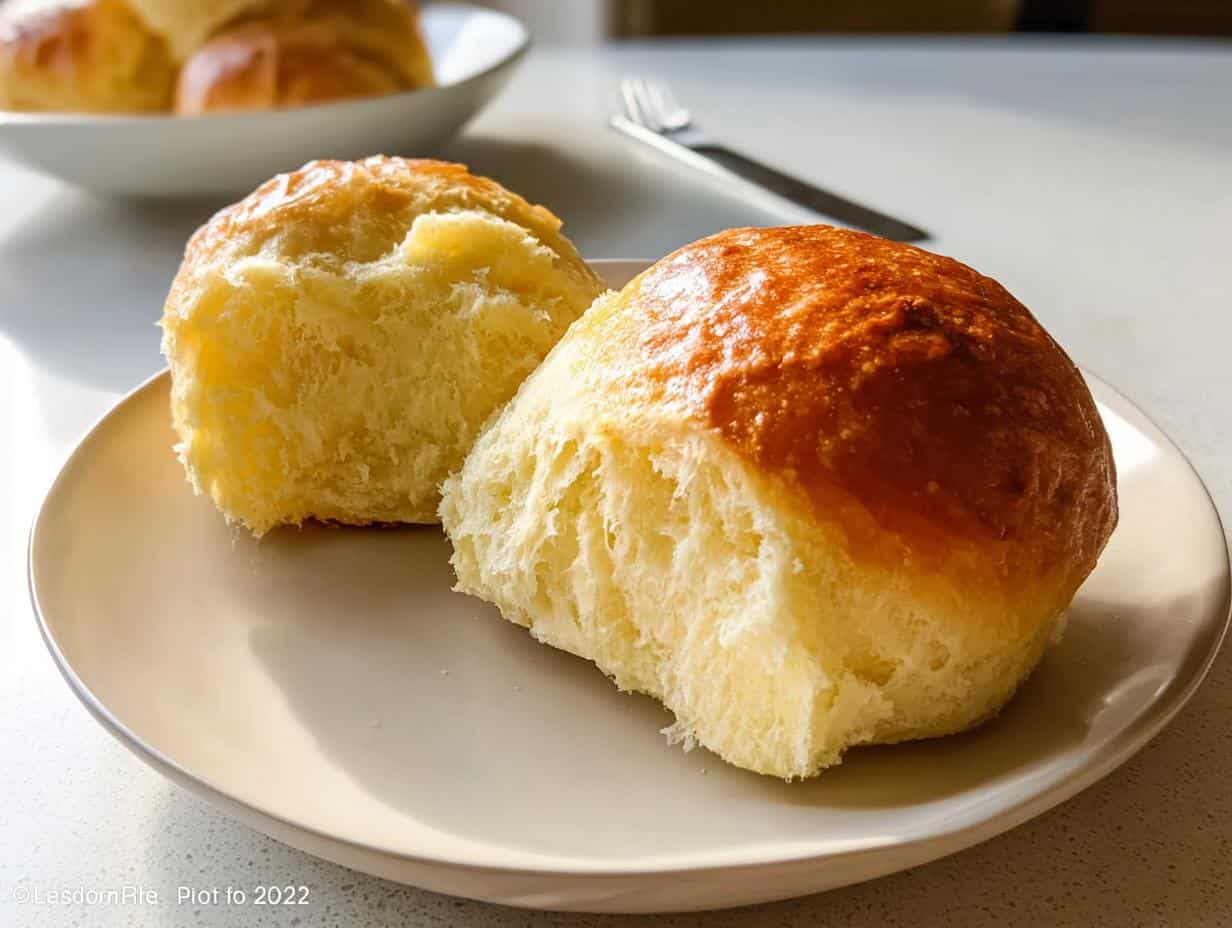
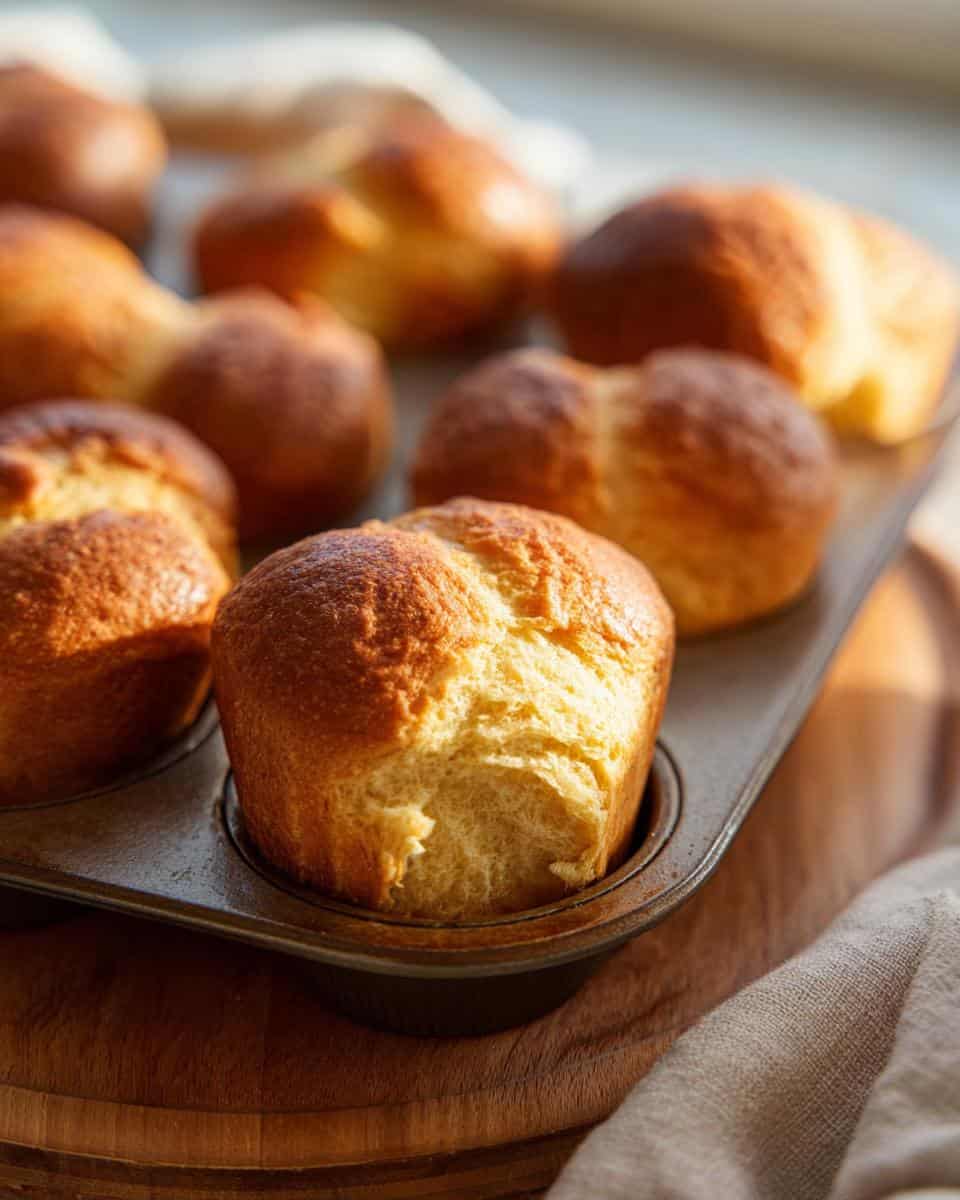
Seriously, these aren’t your typical dense, gummy gluten-free rolls. They’re light, airy, and have that perfect slightly chewy texture. My family DEVOURS them!
Perfect for Thanksgiving dinner
What’s Thanksgiving without rolls? These are the perfect addition to your holiday feast. They soak up gravy like a dream and complement all those yummy Thanksgiving flavors.
Easy to make
Don’t let gluten-free baking intimidate you! This recipe is surprisingly simple. You just whisk, mix, pour, and bake. Seriously, even I can do it, and I’m no professional baker!
Delicious flavor
These aren’t just “good for gluten-free.” They’re just plain GOOD. They have a slightly sweet, buttery flavor that everyone will love. The flavor makes them ideal Gluten-Free Thanksgiving Rolls!
Ingredients for Gluten-Free Thanksgiving Rolls
Okay, let’s talk ingredients! This is where the magic starts. Gathering everything beforehand makes baking SO much easier, trust me. You don’t want to be scrambling mid-recipe, right?
Gluten-Free Flour
You’ll need 1 1/2 cups of a good gluten-free all-purpose flour blend. Now, not all gluten-free flours are created equal! I’ve had great luck with Bob’s Red Mill Gluten Free 1-to-1 Baking Flour. Seriously, it makes a huge difference!
Xanthan Gum
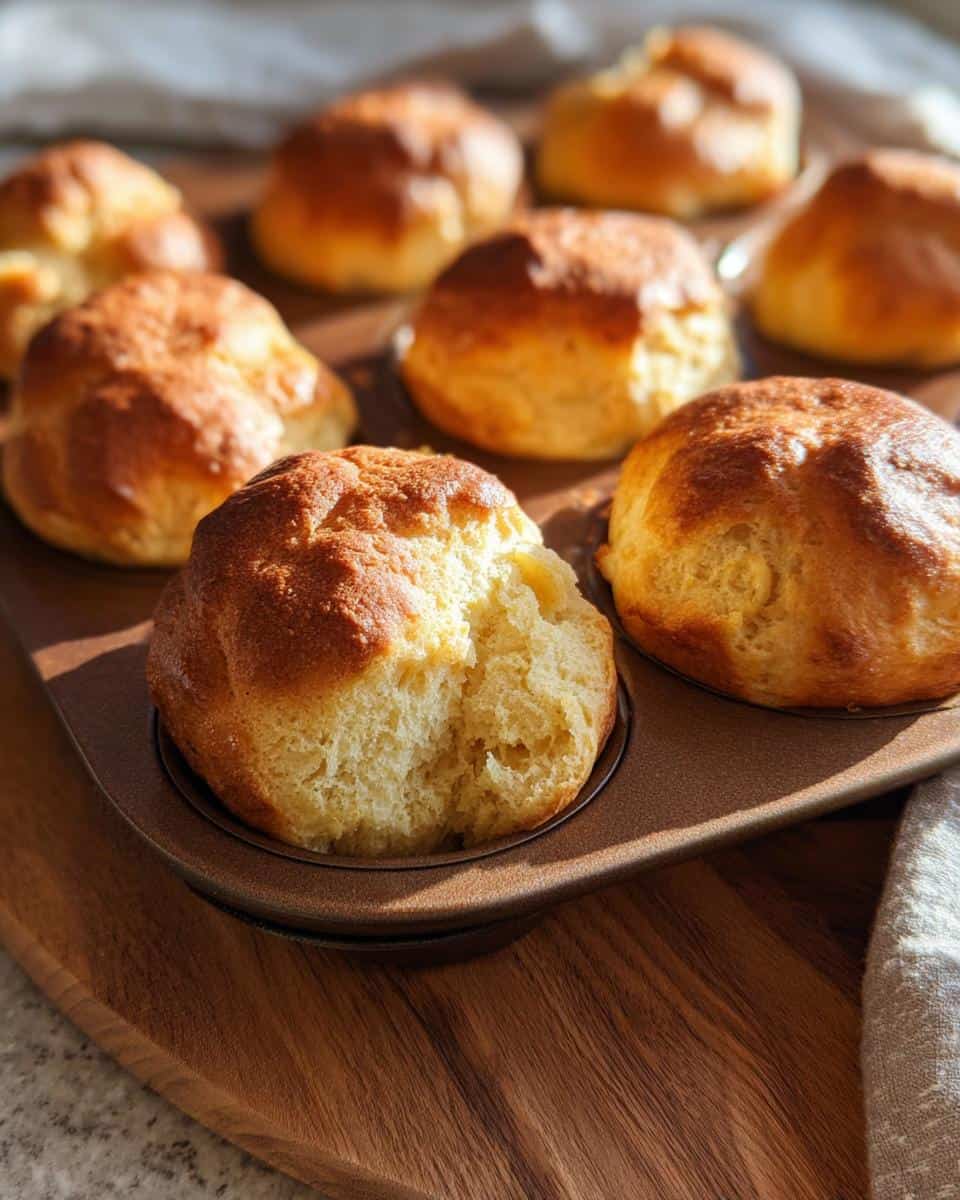
Grab 1 teaspoon of xanthan gum. This stuff is important! It helps give the rolls that nice, chewy texture that gluten usually provides. Don’t skip it!
Baking Powder
You’ll need 1 teaspoon of baking powder to give these rolls some lift.
Baking Soda
And 1/2 teaspoon of baking soda to help them rise even more. See? We’re getting serious about fluffiness here!
Salt
Just 1/4 teaspoon of salt to balance out the sweetness. Can’t forget that!
Sugar
2 tablespoons of sugar to give them a little somethin’ somethin’.
Buttermilk
1 cup of buttermilk. This adds a lovely tang and helps keep the rolls moist. If you don’t have buttermilk, don’t sweat it! I’ll tell you a secret substitution later. 😉
Melted Butter
1/4 cup of melted, unsalted butter. Because everything’s better with butter, right?
Egg
And finally, 1 large egg. Make sure it’s at room temperature for best results!
How to Make Gluten-Free Thanksgiving Rolls: Step-by-Step Instructions
Alright, let’s get down to business! This is where we turn those ingredients into amazing Gluten-Free Thanksgiving Rolls. Don’t worry, I’ll walk you through it. We’re gonna nail this!
Preparing the Oven and Dry Ingredients for the Gluten-Free Thanksgiving Rolls
Preheat the oven
First things first: crank up that oven to 375°F (190°C). Get it nice and toasty in there! You want it ready to go when the batter’s done. Trust me, a preheated oven is KEY.
Combine dry ingredients
Now, grab your biggest bowl (you know, the one you usually use for salad but secretly love for baking). Dump in the gluten-free flour, xanthan gum, baking powder, baking soda, salt, and sugar. Then, whisk it all together like you’re conducting an orchestra! This makes sure everything’s evenly distributed, so you don’t get a mouthful of baking soda. Yuck!
Mixing Wet and Dry Ingredients to create Gluten-Free Thanksgiving Rolls
Combine wet ingredients
In a separate, smaller bowl, whisk together the buttermilk, melted butter, and egg. Make sure that butter isn’t too hot, or you’ll end up with scrambled egg bits. We don’t want that! Just melted and slightly cooled is perfect.
Mix wet and dry
Okay, here’s the slightly tricky part. Pour the wet ingredients into the dry ingredients. Then, gently mix until *just* combined. I mean it! Don’t overmix! A few lumps are totally fine. Overmixing gluten-free batter makes it tough, and we want fluffy rolls, remember?
Baking Your Gluten-Free Thanksgiving Rolls
Pour into muffin tin
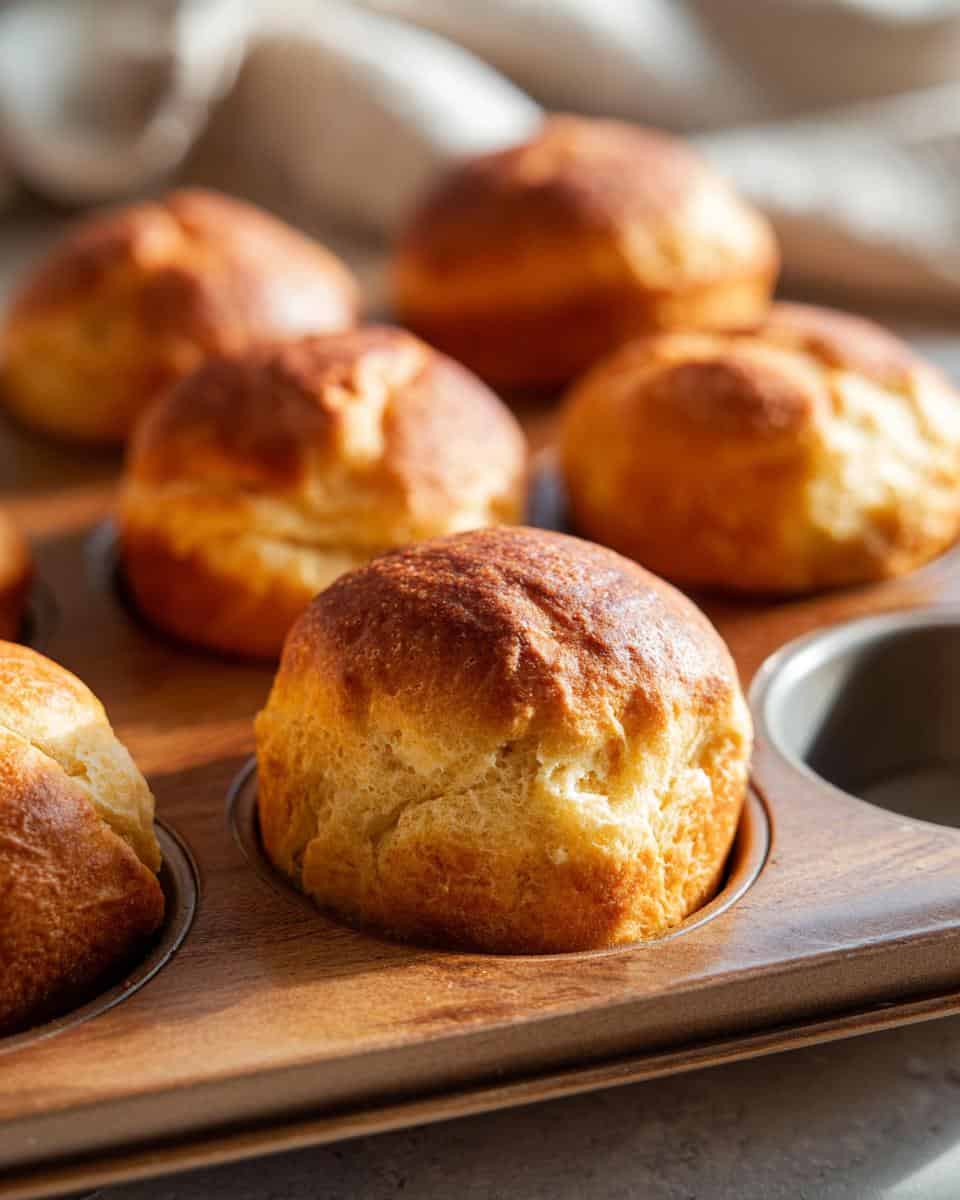
Grab a muffin tin and grease it like crazy! Seriously, don’t skimp on the grease. Gluten-free stuff can be sticky, so make sure every nook and cranny is covered. You can use butter, cooking spray, or even those little paper liners if you’re feeling fancy. Then, carefully pour the batter into the muffin tin, filling each cup about 2/3 full.
Bake until golden
Pop that muffin tin into the preheated oven and bake for 20-25 minutes. Keep an eye on them! They should be golden brown on top. To check if they’re done, stick a toothpick into the center of one of the rolls. If it comes out clean, you’re good to go! If not, bake for a few more minutes and check again.
Cooling and Serving your Gluten-Free Thanksgiving Rolls
Cool slightly
Once they’re golden and delicious, take them out of the oven and let them cool *slightly* in the muffin tin before transferring them to a wire rack to cool completely. This helps them set up and prevents them from falling apart. And try not to eat them all right away… though I totally understand if you do! Enjoy your Gluten-Free Thanksgiving Rolls!
Tips for the Best Gluten-Free Thanksgiving Rolls
Want to REALLY nail these Gluten-Free Thanksgiving Rolls? I’ve got a few extra tricks up my sleeve to make sure they’re absolutely perfect!
Choosing the Right Gluten-Free Flour for Thanksgiving Rolls
Like I mentioned before, gluten-free flour blends can be tricky. Seriously, some are gritty, some are gummy… it’s a gamble! A blend with rice flour, tapioca starch, and potato starch usually works well. Experiment and find one *you* love!
Don’t Overmix the Batter for Thanksgiving Rolls
Seriously, I can’t stress this enough. Overmixing gluten-free batter is a HUGE no-no. It develops a weird, tough texture. Mix until just combined, even if there are a few lumps. Lumps are your friends in this case!
Monitoring Baking Time for Perfect Thanksgiving Rolls
Ovens can be sneaky! Start checking the rolls around 20 minutes. You want them golden brown and a toothpick inserted into the center to come out clean. If they’re browning too quickly, loosely tent some foil over the top to prevent burning. Patience is key!
Ingredient Notes and Substitutions for your Gluten-Free Thanksgiving Rolls
Okay, so sometimes you’re missing an ingredient, right? Don’t panic! Here are a couple of easy swaps you can make for these Gluten-Free Thanksgiving Rolls, and no one will be the wiser!
Buttermilk Substitutions for Gluten-Free Thanksgiving Rolls
No buttermilk? No problem! Just add 1 tablespoon of lemon juice or white vinegar to a measuring cup, then fill the rest of the way to the 1-cup line with regular milk. Let it sit for a few minutes to curdle, and BAM! Instant buttermilk. It works like a charm!
Sugar Alternatives to use in Gluten-Free Thanksgiving Rolls
If you’re trying to cut back on refined sugar, you *can* substitute honey or maple syrup for the sugar in this recipe. Use the same amount (2 tablespoons), but be aware that it might make the rolls a little bit denser and sweeter. Still yummy, though!
Storing and Reheating Your Gluten-Free Thanksgiving Rolls
Okay, so you’ve baked these gorgeous Gluten-Free Thanksgiving Rolls… and maybe you have some leftovers (if you didn’t eat them all, that is!). Here’s how to keep them fresh and delicious!
Storing Leftover Gluten-Free Thanksgiving Rolls
Once they’re completely cool, pop those leftover rolls into an airtight container or a zip-top bag. They’ll stay good at room temperature for up to 2 days. If you want to keep them longer, though, freezing is your best bet!
Reheating Gluten-Free Thanksgiving Rolls
Want to warm them up? The microwave works in a pinch (about 15-20 seconds per roll), but they can get a little… rubbery. My favorite way is to wrap them in foil and pop them in a 350°F oven for about 5-10 minutes. They’ll be warm, soft, and just like new! Yum!
FAQs About Gluten-Free Thanksgiving Rolls
Got questions about making these amazing Gluten-Free Thanksgiving Rolls? I bet you do! Here are a few of the most common things I get asked. Hopefully, this helps!
Can I make these Gluten-Free Thanksgiving Rolls ahead of time?
Absolutely! You can bake them a day or two in advance and store them in an airtight container at room temperature. Just reheat them before serving. Or, you can even prepare the batter ahead of time and store it in the fridge for up to 24 hours. Just give it a good stir before pouring it into the muffin tin and baking. Easy peasy!
Can I freeze these Gluten-Free Thanksgiving Rolls?
Yep! These rolls freeze beautifully. Let them cool completely, then wrap them individually in plastic wrap and place them in a freezer-safe bag or container. They’ll keep in the freezer for up to 2 months. When you’re ready to eat them, thaw them at room temperature and then reheat them in the oven. They’ll taste like they just came out of the oven!
What kind of gluten-free flour is best for these Gluten-Free Thanksgiving Rolls?
Okay, so I mentioned this before, but it’s important! A high-quality gluten-free all-purpose flour blend is key. I really like Bob’s Red Mill Gluten Free 1-to-1 Baking Flour, but any blend that’s designed to be a direct substitute for wheat flour should work. Just avoid anything with bean flour as the first ingredient – it can give the rolls a weird taste!
Gluten-Free Thanksgiving Rolls: Estimated Nutritional Information
Nutritional Disclaimer for Gluten-Free Thanksgiving Rolls
Okay, so here’s the deal: I’m not a nutritionist! These are just *estimates*. Nutrition info can vary a LOT depending on the brands you use, so please don’t take this as gospel, okay?
Rate this Gluten-Free Thanksgiving Rolls Recipe
Hey, if you try these Gluten-Free Thanksgiving Rolls, please leave a rating below! I’d love to hear what you think and how they turned out for you! Happy baking!
Print
The 1 Flour Secret for Amazing Gluten-Free Thanksgiving Rolls
- Prep Time: 15 minutes
- Cook Time: 25 minutes
- Total Time: 40 minutes
- Yield: 12 rolls 1x
- Category: Bread
- Method: Baking
- Cuisine: American
- Diet: Gluten Free
Description
Enjoy delicious gluten-free Thanksgiving rolls. These rolls are soft, fluffy, and perfect for your holiday meal.
Ingredients
- 1 1/2 cups gluten-free all-purpose flour
- 1 teaspoon xanthan gum
- 1 teaspoon baking powder
- 1/2 teaspoon baking soda
- 1/4 teaspoon salt
- 2 tablespoons sugar
- 1 cup buttermilk
- 1/4 cup melted butter
- 1 egg
Instructions
- Preheat oven to 375°F (190°C).
- In a large bowl, whisk together gluten-free flour, xanthan gum, baking powder, baking soda, salt, and sugar.
- In a separate bowl, combine buttermilk, melted butter, and egg.
- Add wet ingredients to dry ingredients and mix until just combined.
- Pour batter into greased muffin tin.
- Bake for 20-25 minutes, or until golden brown.
- Let cool slightly before serving.
Notes
- Use a high-quality gluten-free flour blend for best results.
- Buttermilk can be substituted with regular milk mixed with 1 tablespoon of lemon juice or vinegar.
- Rolls can be stored in an airtight container at room temperature for up to 2 days.
Nutrition
- Serving Size: 1 roll
- Calories: 150
- Sugar: 5g
- Sodium: 150mg
- Fat: 6g
- Saturated Fat: 3g
- Unsaturated Fat: 2g
- Trans Fat: 0g
- Carbohydrates: 20g
- Fiber: 1g
- Protein: 2g
- Cholesterol: 30mg

