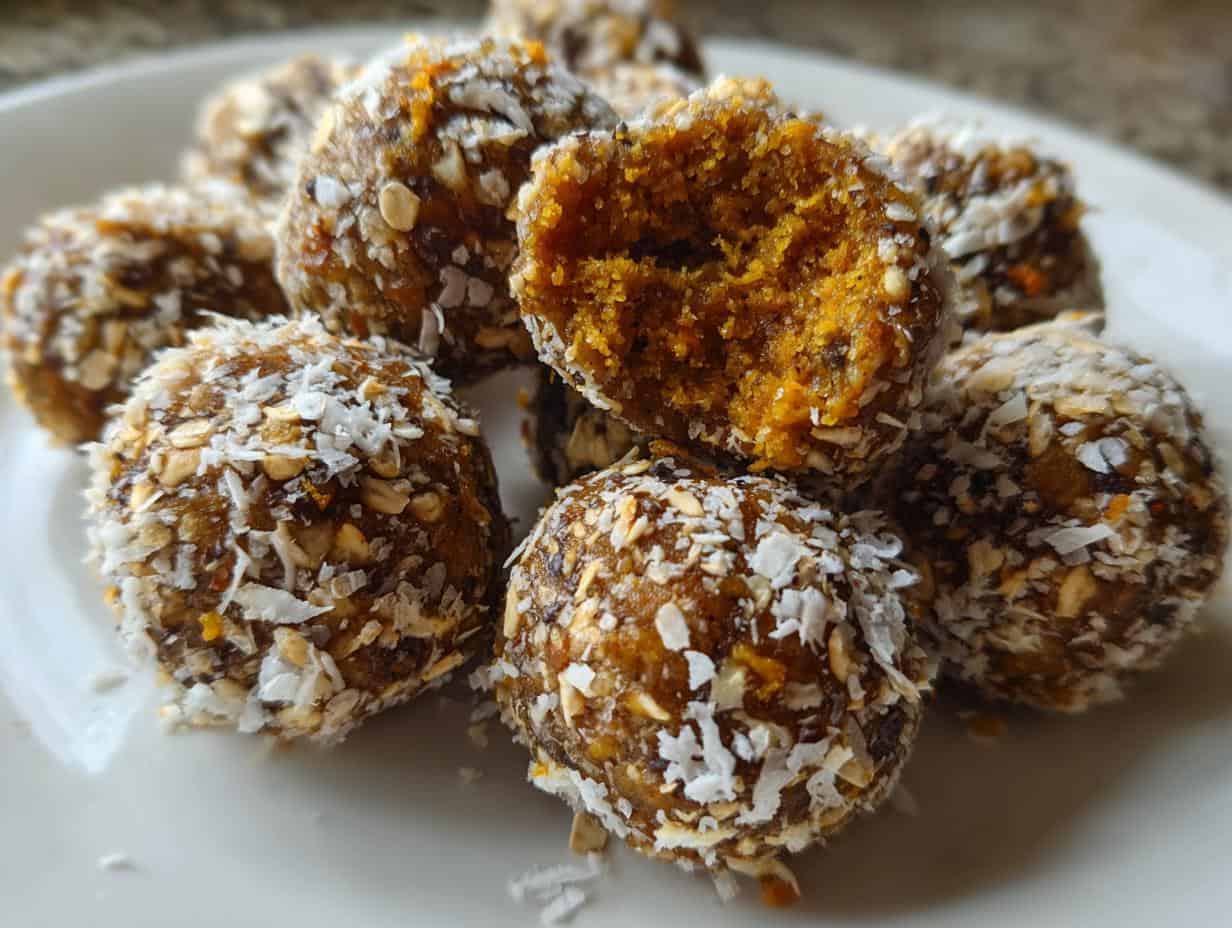
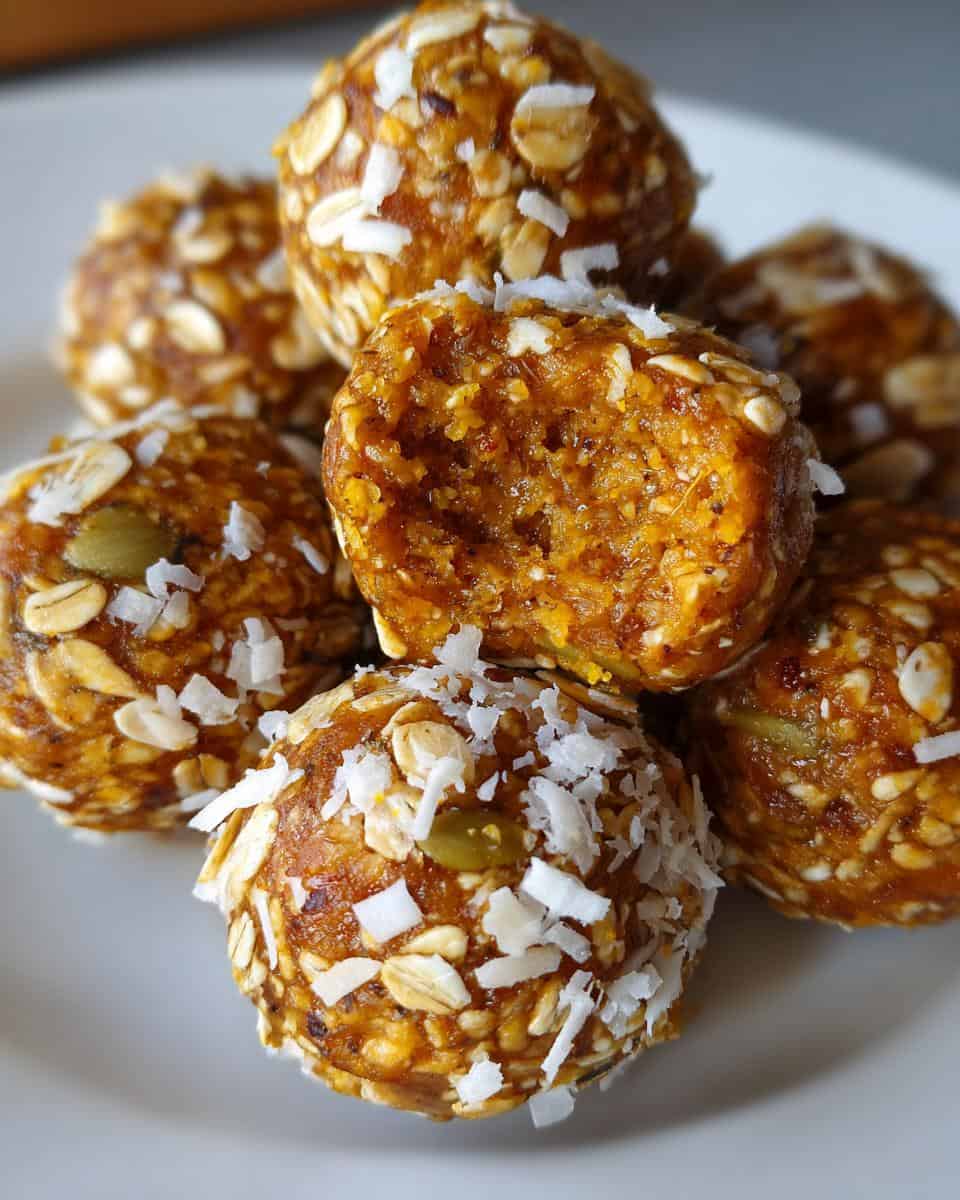
Okay, so, picture this: it’s a chilly afternoon, leaves are falling, and you’re craving ALL the pumpkin spice things. But, like, you also want to be healthy-ish, right? That’s where these no-bake healthy pumpkin pie energy balls come in! Seriously, these things are a lifesaver. I used to buy those fancy energy bars, but they’re so expensive! And honestly, not as yummy.
I started making energy balls years ago as a way to use up leftover oats (oops!). Now I’m obsessed. This recipe? It’s my fall go-to. It’s so quick, even *I* can’t mess it up. And the best part? They taste JUST like pumpkin pie. You get that warm, cozy flavor in a perfectly poppable, healthy snack. I’m telling you, these are about to become your new favorite thing!
Gather Your Ingredients for No-Bake Healthy Pumpkin Pie Energy Balls
Alright, let’s get prepped! You’ll need: 1 cup of rolled oats (old-fashioned are my fave, but quick oats work too!), 1/2 cup of pumpkin puree (NOT pumpkin pie filling – BIG difference!), 1/4 cup of almond butter (smooth or crunchy, your call!), 1/4 cup of pure maple syrup (the real stuff!), 2 tablespoons of chia seeds, 1 teaspoon of pumpkin pie spice (make sure it’s not ancient!), and 1/4 cup of shredded coconut (unsweetened, totally optional!). Easy peasy!
How to Make No-Bake Healthy Pumpkin Pie Energy Balls: Step-by-Step Instructions
Okay, here’s the super-simple rundown! Seriously, if you can stir, you can make these. No fancy equipment needed, promise!
Step 1: Combining the Ingredients for Your No-Bake Healthy Pumpkin Pie Energy Balls
Grab a bowl – any bowl will do! Dump in all your ingredients: the oats, pumpkin puree, almond butter, maple syrup, chia seeds, pumpkin pie spice, and coconut (if you’re using it). Now, get in there with a spatula (or your hands, if you’re feeling brave!) and mix, mix, mix until everything is evenly combined. You want it all nice and distributed!
Step 2: Rolling Your No-Bake Healthy Pumpkin Pie Energy Balls
Time to get your hands dirty! Take a small spoonful of the mixture and roll it between your palms to form a little ball. If the mixture is sticking too much, lightly dampen your hands with water. Repeat until you’ve used all the mixture. I usually end up with around 20-ish balls, but it depends on how big you make ’em!
Step 3: Refrigerating Your No-Bake Healthy Pumpkin Pie Energy Balls
This is important! Pop your newly formed energy balls onto a plate or into a container and stick them in the fridge. You gotta let them chill for at least 30 minutes. This helps them firm up and keeps them from being too sticky. Trust me, don’t skip this step!
Why You’ll Love These No-Bake Healthy Pumpkin Pie Energy Balls
Seriously, what’s not to love?! These little guys are:
Quick and Easy
I mean, come on, less than 15 minutes of prep? That’s my kind of recipe! Perfect for when you need a snack in a flash.
Naturally Sweetened
No refined sugars here! Just the good stuff from maple syrup and pumpkin. You can feel good about what you’re eating!
Vegan and Gluten-Free
Yep, everyone can enjoy these! They’re totally plant-based and naturally gluten-free (just double-check your oats!).
Healthy Snack
Packed with fiber, healthy fats, and pumpkin-y goodness, these energy balls are a way better choice than that candy bar calling your name!
Ingredient Substitutions for No-Bake Healthy Pumpkin Pie Energy Balls
Okay, so maybe you’re allergic to nuts, or out of maple syrup (gasp!). Don’t worry, we can still make these no-bake healthy pumpkin pie energy balls happen! Swapping ingredients is totally doable. It might change the flavor a *tiny* bit, but they’ll still be delicious, I promise!
Nut Butter Alternatives
Got a nut allergy? No prob! Sunflower seed butter (also known as sunbutter) works great! It has a slightly different flavor, but it’s still super yummy and creamy. Tahini (sesame seed paste) is another option, but it’s a bit more savory, so you might want to add a *touch* more maple syrup to balance it out.
Sweetener Options
Out of maple syrup? Oops! Agave nectar is a good substitute – it’s got a similar consistency. You could also use honey, but heads up, it’s not vegan! Start with the same amount as the maple syrup and adjust to your liking. Remember, you can always add more, but you can’t take it away!
Seed Substitutions
Don’t have chia seeds on hand? Ground flaxseed is a fantastic alternative! It has a similar nutritional profile and will help bind the energy balls together. Just use the same amount – 2 tablespoons. Easy peasy!
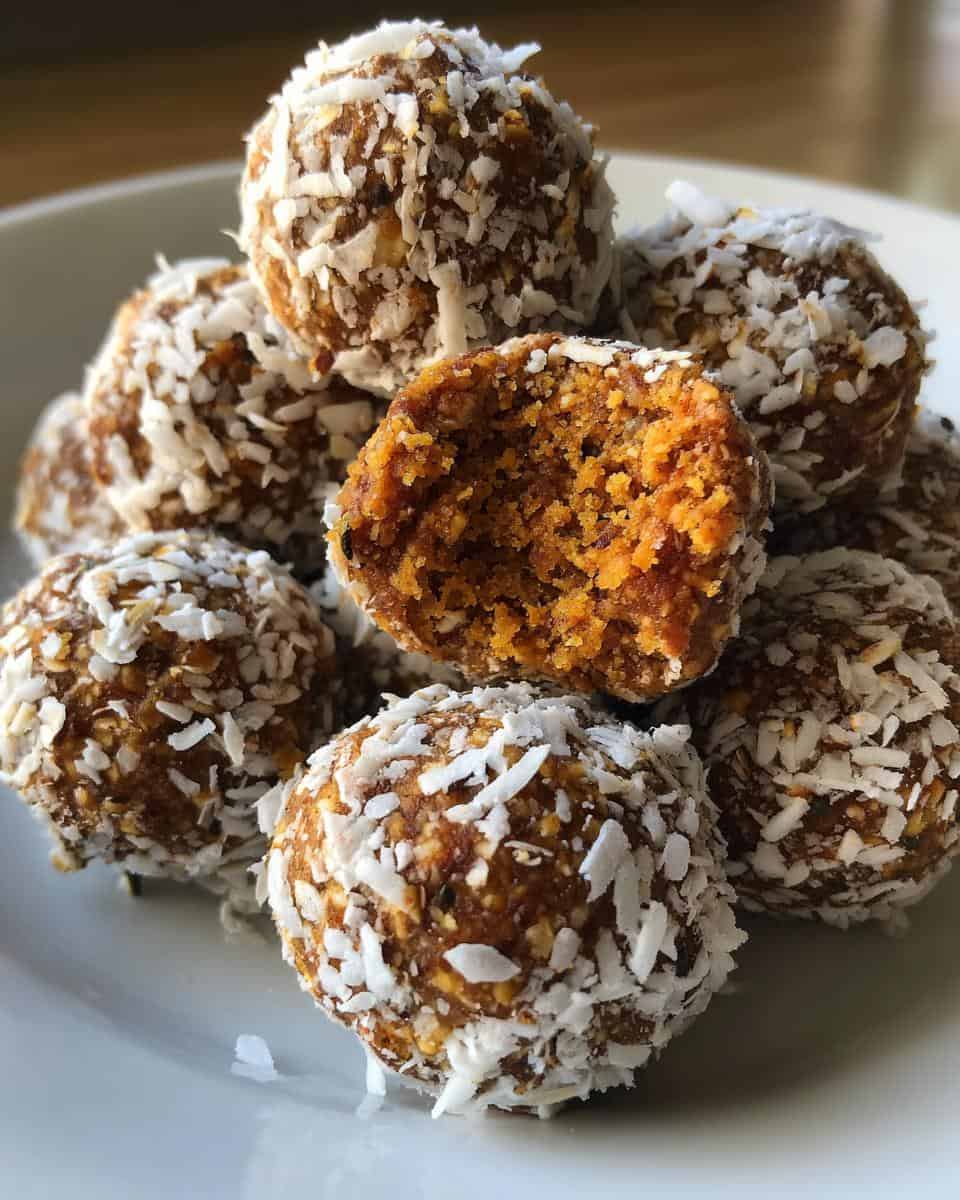
Tips for the Best No-Bake Healthy Pumpkin Pie Energy Balls
Want these no-bake healthy pumpkin pie energy balls to be *perfect*? Here are a few of my top secrets! Trust me, these little tweaks make a BIG difference.
Adjusting Sweetness
Okay, so everyone’s taste buds are different, right? If you like things super sweet, go ahead and add a little extra maple syrup! Start with a tablespoon at a time until it’s just right for YOU. On the other hand, if you’re not a huge fan of super sweet stuff, stick to the 1/4 cup or even reduce it slightly. It’s your call!
Preventing Sticking
Sticky hands are the WORST! Like I mentioned before, lightly dampening your hands makes a world of difference when you’re rolling these little guys. Keep a small bowl of water nearby and re-wet your hands as needed. Also, don’t overmix the batter! Overmixing can make it even stickier. Eek!
Enhancing Flavor
This is my favorite part! A tiny pinch of salt can really bring out the flavors in these energy balls. It balances the sweetness and makes everything taste even more pumpkin-y! You can also add a dash of vanilla extract for an extra boost of flavor. Ooh, and don’t be afraid to experiment with different spices! A little extra cinnamon or nutmeg never hurt anyone!
Frequently Asked Questions About No-Bake Healthy Pumpkin Pie Energy Balls
Got questions? I got answers! Here are a few things I get asked *all* the time about these yummy no-bake healthy pumpkin pie energy balls!
Can I freeze No-Bake Healthy Pumpkin Pie Energy Balls?
Absolutely! These little guys freeze beautifully. Just pop them in an airtight container or freezer bag and they’ll last for up to 2-3 months. When you’re ready to eat ’em, just thaw them in the fridge for a few hours or grab one straight from the freezer for a slightly firmer treat! Freezing is a great way to meal prep, too!
How long do No-Bake Healthy Pumpkin Pie Energy Balls last?
In the fridge, these no-bake healthy pumpkin pie energy balls will stay fresh for about a week. But honestly, they never last that long in my house! Just make sure you store them in an airtight container to keep them from drying out. If you see any mold (yuck!), toss ’em!
Can I add protein powder to No-Bake Healthy Pumpkin Pie Energy Balls?
Totally! If you want an extra protein boost, go for it! I usually add about 1-2 scoops of my favorite vanilla protein powder. You might need to add a little extra pumpkin puree or maple syrup to compensate for the added powder and keep them from being too dry. Just play around with it until you get the perfect consistency!
Estimated Nutritional Information for No-Bake Healthy Pumpkin Pie Energy Balls
Okay, so here’s the deal: nutrition info can vary A LOT depending on the brands you use. So, consider this a rough estimate, okay?
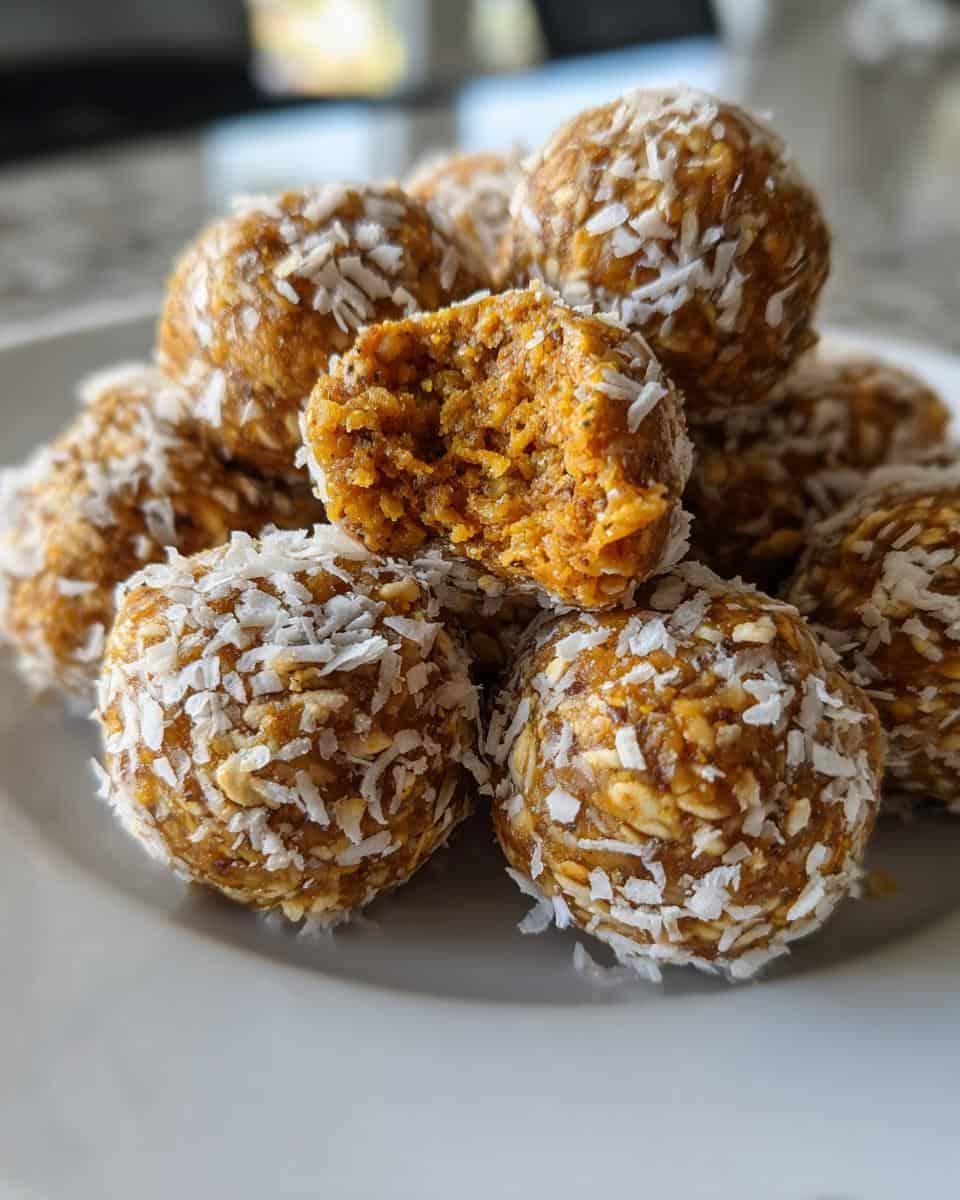
Enjoy Your No-Bake Healthy Pumpkin Pie Energy Balls!
Alright, go enjoy those yummy no-bake healthy pumpkin pie energy balls! And hey, if you love ’em as much as I do, leave a comment and let me know! Oh, and don’t forget to rate the recipe! Happy snacking!
Print
Devour 20 Amazing Pumpkin Pie Energy Balls Recipe
- Prep Time: 15 minutes
- Cook Time: 0 minutes
- Total Time: 45 minutes
- Yield: About 20 balls 1x
- Category: Snack
- Method: No-Bake
- Cuisine: American
- Diet: Vegan
Description
Quick and easy no-bake energy balls with pumpkin pie flavor. A healthy snack or dessert.
Ingredients
- 1 cup rolled oats
- 1/2 cup pumpkin puree
- 1/4 cup almond butter
- 1/4 cup maple syrup
- 2 tablespoons chia seeds
- 1 teaspoon pumpkin pie spice
- 1/4 cup shredded coconut (optional)
Instructions
- Combine all ingredients in a bowl.
- Mix well until everything is evenly distributed.
- Roll mixture into bite-sized balls.
- Refrigerate for at least 30 minutes before serving.
Notes
- Adjust maple syrup to your desired sweetness.
- Store in an airtight container in the refrigerator.
- Add protein powder for an extra boost.
Nutrition
- Serving Size: 1 ball
- Calories: 75
- Sugar: 4g
- Sodium: 5mg
- Fat: 4g
- Saturated Fat: 1g
- Unsaturated Fat: 3g
- Trans Fat: 0g
- Carbohydrates: 8g
- Fiber: 2g
- Protein: 2g
- Cholesterol: 0mg

