

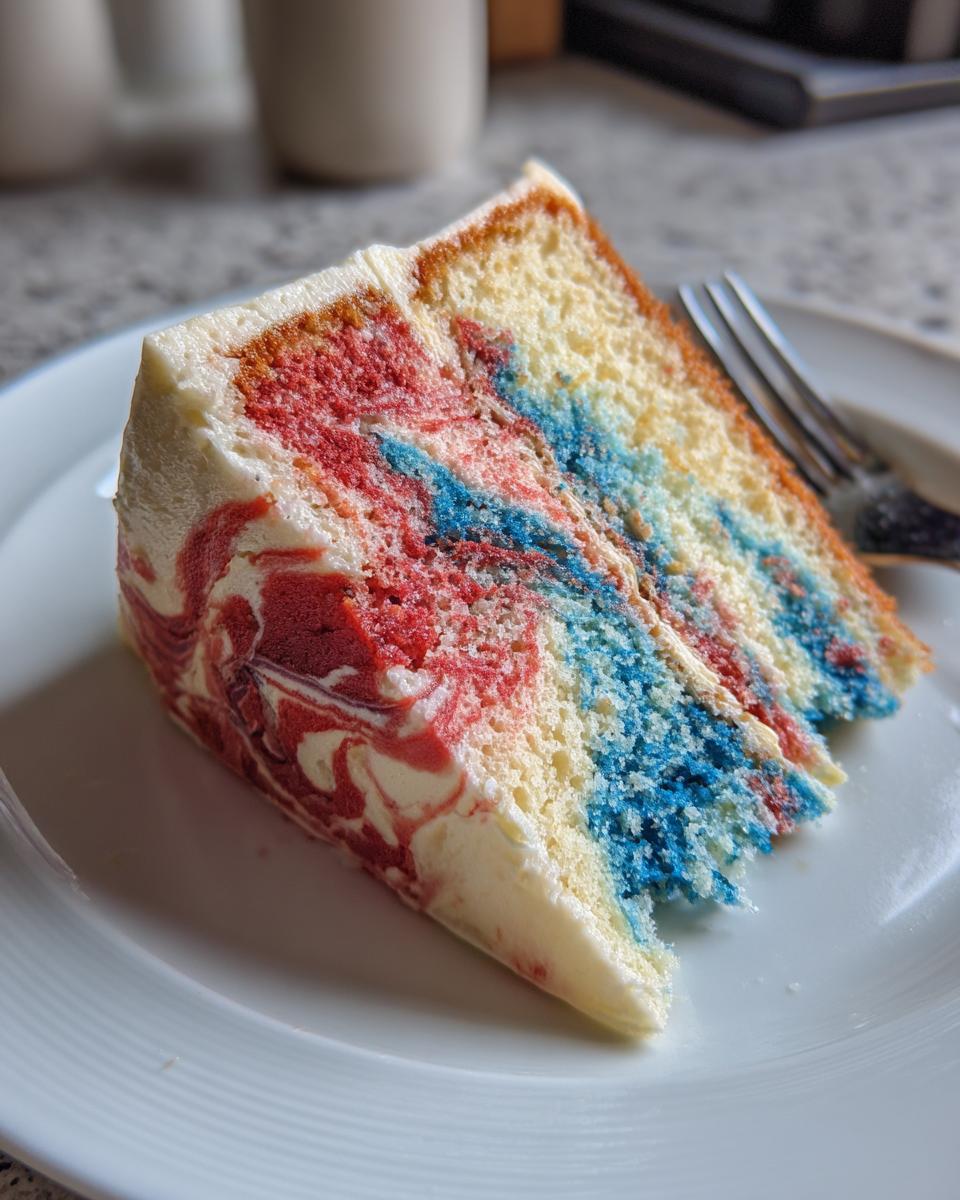
Nothing screams summer like a dazzling dessert, right? And let me tell you, this Red White & Blue Marble Cake? It’s a SHOWSTOPPER. Seriously, imagine slicing into this gorgeous creation at your next BBQ – everyone will be reaching for their phones to snap a picture before they even take a bite!
I’ve been baking this Red White & Blue Marble Cake for our family’s Fourth of July celebrations for years now, and it’s always the first thing to disappear. My kids practically inhale it! There’s just something about those bright, patriotic colors swirled together that makes it extra special. Plus, it tastes amazing – moist, vanilla-y, and just sweet enough. Trust me, this cake is a guaranteed crowd-pleaser!
Why You’ll Love This Red White & Blue Marble Cake
Okay, so why *should* you make this cake? Well, for starters, it’s seriously stunning – like, “ooh-ahh” worthy! It’s also THE perfect thing for Memorial Day, 4th of July, or any other time you wanna show off your patriotic side. Plus, it’s super moist and flavorful (no dry cake here!), and honestly? It’s a breeze to tweak and make your own. What’s not to love?
Ingredients for Your Red White & Blue Marble Cake
Alright, gather ’round! Here’s what you’ll need: 2 1/2 cups of all-purpose flour, 1 tsp of baking powder, 1/2 tsp of baking soda, 1/2 tsp of salt, 1 cup (that’s 2 sticks!) of softened, unsalted butter, 1 3/4 cups of granulated sugar, 2 large eggs, a teaspoon of vanilla extract, 1 cup of buttermilk, and both red *and* blue food coloring. I usually go with gel, but liquid works too!
How to Make a Red White & Blue Marble Cake: Step-by-Step Instructions
Okay, ready to get baking? Don’t worry, this Red White & Blue Marble Cake looks fancy, but it’s totally doable! Just follow these steps, and you’ll have a show-stopping dessert in no time.
Preparing the Batter for the Red White & Blue Marble Cake
First things first, you’ll want to preheat your oven to 350°F (175°C). Grease and flour a 9×13 inch pan – trust me, you don’t want this beauty sticking! Then, in one bowl, whisk together your flour, baking powder, baking soda, and salt. In another bowl, cream together the butter and sugar until it’s all light and fluffy. Beat in those eggs one at a time, then stir in the vanilla. Now, slowly add the dry stuff and the buttermilk to the butter mixture, alternating between them and starting AND ending with the dry. Mix until just combined – don’t overmix! We want a tender cake, not a tough one.
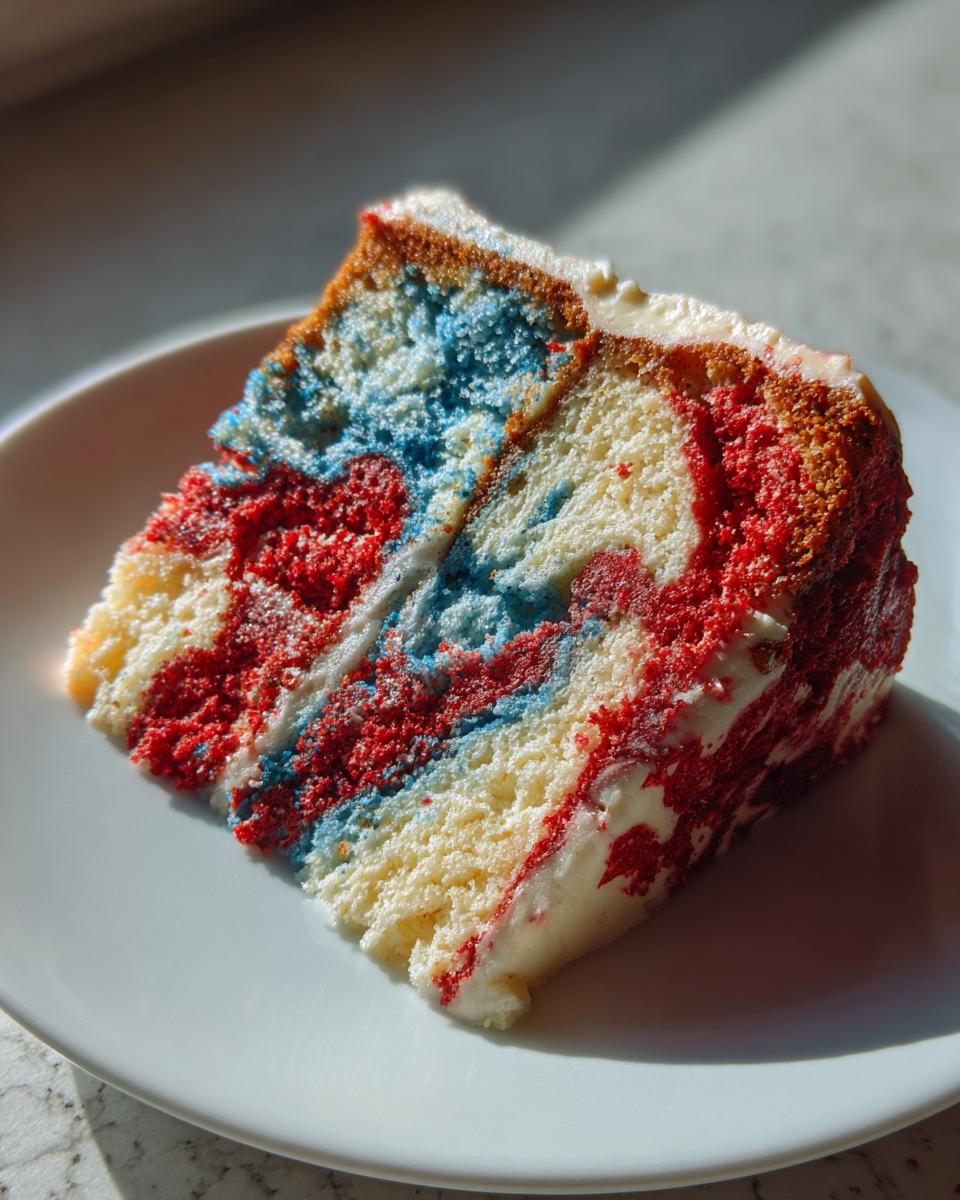
Creating the Red White & Blue Marble Effect
This is where the magic happens! Divide your batter into three bowls. Tint one with red food coloring and another with blue. Leave the third one plain – that’s our white! Now, spoon dollops of each color randomly into your prepared pan. Grab a knife or a skewer and gently swirl the batters together. Don’t go crazy here – a few swirls are all you need! Overmixing will muddy the colors, and we want those vibrant red, white, and blue streaks!
Baking Your Red White & Blue Marble Cake to Perfection
Pop your beautiful cake into the preheated oven and bake for 30-35 minutes. But how do you know when it’s done? Easy! Stick a wooden skewer into the center. If it comes out clean, you’re golden! If not, give it a few more minutes. Every oven is different, so keep an eye on it!
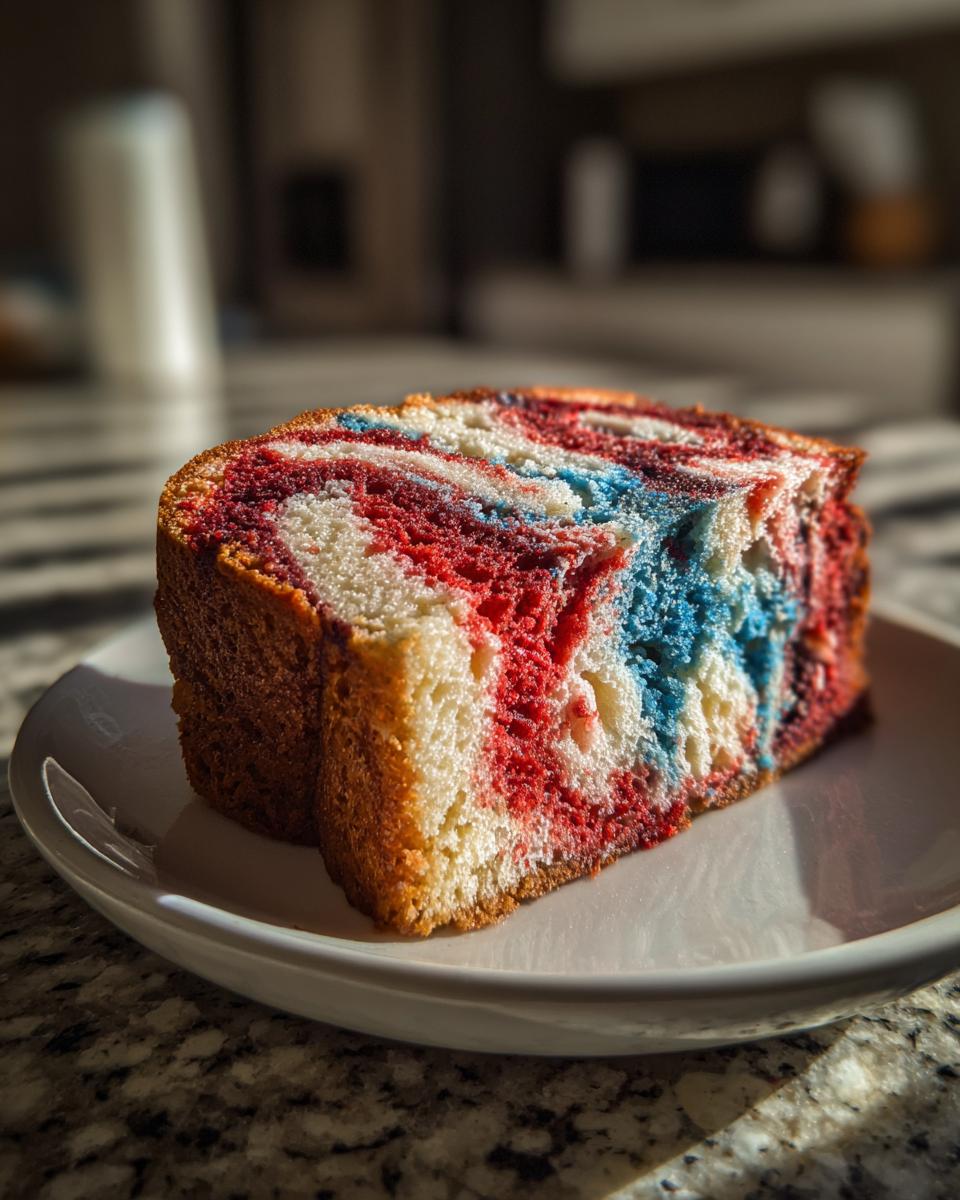
Cooling and Serving Your Red White & Blue Marble Cake
Alright, patience time! Let the cake cool in the pan for 10 minutes before inverting it onto a wire rack to cool completely. I know it’s tempting to dig in right away, but trust me, it’s worth the wait. Once it’s cool, slice it up and serve! And get ready for the compliments to roll in – you deserve them!
Tips for the Best Red White & Blue Marble Cake
Want to take your Red White & Blue Marble Cake from “good” to “OMG!”? Here are a few of my tried-and-true secrets. First, and I can’t stress this enough, don’t overmix the batter! Seriously, it’s the easiest way to ruin a cake. Also, splurge on some good quality food coloring – those cheap ones can taste weird and won’t give you those vibrant colors we’re after. And lastly, make sure your butter is *actually* softened. Like, leave it out for a bit! It makes all the difference when creaming it with the sugar. Trust me!
Red White & Blue Marble Cake Variations
Okay, so you’ve mastered the basic Red White & Blue Marble Cake? Awesome! Now, let’s get a little crazy, shall we? My favorite part is tweaking recipes to make them my own! Try adding a teaspoon of almond extract to the batter for a subtle nutty flavor. Or, if you’re feeling extra festive, use different shades of red and blue food coloring – think pastel or even neon! And sprinkles? Always a good idea! Toss some red, white, and blue sprinkles on top before baking for extra pizzazz. Seriously, have fun with it!
Storing Your Red White & Blue Marble Cake
Got leftovers? Lucky you! To keep your Red White & Blue Marble Cake fresh, just wrap it tightly in plastic wrap or pop it in an airtight container. It’ll stay moist and delicious for up to 3 days at room temperature. If you want to keep it longer, you can totally freeze it! Just wrap it well, and it’ll be good for a couple of months. To thaw, let it sit at room temperature. Easy peasy!
Frequently Asked Questions About Red White & Blue Marble Cake
Got questions about this Red White & Blue Marble Cake? Don’t sweat it – I’ve got answers! Here are a few of the most common questions I get asked all the time.
Can I use a different size pan? Absolutely! Just keep in mind that baking times will change. If you’re using smaller pans, like cupcakes, they’ll bake faster. A larger pan might need a bit more time. Just keep an eye on it and use that skewer test!
Can I use a different type of flour? I usually stick with all-purpose flour for this recipe. But if you’re feeling adventurous, you could try cake flour for an even more tender crumb. Just don’t use self-rising flour, or your cake will be… well, a mess! Trust me on this one!
How do I prevent the colors from bleeding together? Ah, the million-dollar question! The key is to be gentle when you’re swirling the batter. Overmixing is the enemy here! A few gentle swirls are all you need to create that marbled effect. Also, make sure your batters aren’t too thin – that can also cause the colors to run.
Can I add frosting? You betcha! While I love this Red White & Blue Marble Cake plain, a simple vanilla buttercream frosting would be amazing. Or, for a tangy twist, try a cream cheese frosting. Yum!
Nutritional Information for Red White & Blue Marble Cake
Okay, so everyone always asks about the nutrition info for this Red White & Blue Marble Cake. Here’s the deal: it’s tough to give you exact numbers because, well, it depends! Different brands of butter, different food colorings… it all adds up! So, just keep in mind that any nutrition info you find online (including from one of those fancy calculators) is gonna be an estimate. Basically, enjoy your cake in moderation, ’cause it’s definitely a treat!
Print
Unbelievable Red White & Blue Marble Cake in 30 Minutes
- Prep Time: 20 minutes
- Cook Time: 35 minutes
- Total Time: 55 minutes
- Yield: 12 servings 1x
- Category: Dessert
- Method: Baking
- Cuisine: American
- Diet: Vegetarian
Description
A festive marble cake with red, white, and blue colors.
Ingredients
- 2 1/2 cups all-purpose flour
- 1 tsp baking powder
- 1/2 tsp baking soda
- 1/2 tsp salt
- 1 cup (2 sticks) unsalted butter, softened
- 1 3/4 cups granulated sugar
- 2 large eggs
- 1 tsp vanilla extract
- 1 cup buttermilk
- Red food coloring
- Blue food coloring
Instructions
- Preheat oven to 350°F (175°C). Grease and flour a 9×13 inch baking pan.
- In a bowl, whisk together flour, baking powder, baking soda, and salt.
- In a separate bowl, cream together butter and sugar until light and fluffy. Beat in eggs one at a time, then stir in vanilla.
- Alternately add dry ingredients and buttermilk to the butter mixture, beginning and ending with dry ingredients. Beat until just combined.
- Divide batter into three bowls. Tint one bowl with red food coloring and another with blue food coloring. Leave the third bowl plain.
- Spoon dollops of each color batter randomly into the prepared pan.
- Swirl the batters together with a knife or skewer to create a marbled effect.
- Bake for 30-35 minutes, or until a wooden skewer inserted into the center comes out clean.
- Let cool in the pan for 10 minutes before inverting onto a wire rack to cool completely.
Notes
- Adjust food coloring to achieve desired shade.
- Do not overmix the batter when creating the marbled effect.
Nutrition
- Serving Size: 1 slice
- Calories: 300
- Sugar: 30g
- Sodium: 200mg
- Fat: 15g
- Saturated Fat: 9g
- Unsaturated Fat: 5g
- Trans Fat: 0.5g
- Carbohydrates: 40g
- Fiber: 1g
- Protein: 3g
- Cholesterol: 60mg


