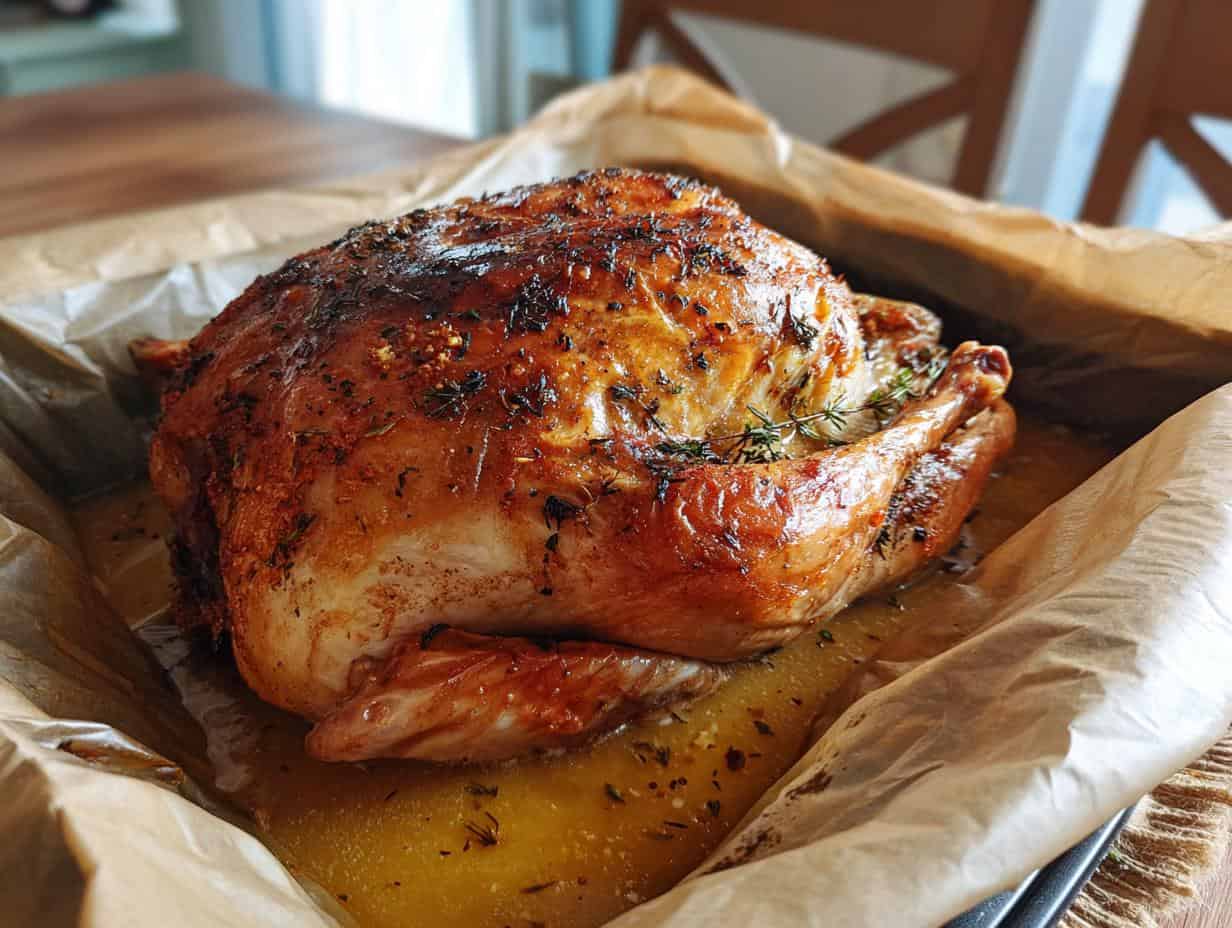
Okay, let’s be real – holiday cooking can be STRESSFUL. I used to dread Thanksgiving, picturing hours of scrubbing roasting pans caked with burnt-on… well, you know. But then I discovered the glorious secret of cooking a turkey in a bag! Trust me, this method is a game-changer. Not only does it practically eliminate cleanup (hallelujah!), but it also gives you the juiciest, most flavorful turkey you’ve ever tasted. Seriously. My family raves about it *every* year.
The best part? It’s ridiculously easy. You basically toss everything in a bag, bake it, and voila! Perfectly cooked turkey with minimal effort. I even got my super picky Uncle Jerry to admit it was “pretty good,” which, in Jerry-speak, is basically a five-star review. So, if you want to ditch the holiday cooking stress and enjoy a delicious, easy-to-clean-up meal, this turkey in a bag recipe is your new best friend!
Why You’ll Love This Turkey in a Bag Recipe
Seriously, you’re gonna LOVE this recipe. Why? Well, let me tell you!
-
Effortless Cleanup with Turkey in a Bag
Okay, this is HUGE. The oven bag catches all those drippings, so you’re not stuck scrubbing a roasting pan for hours. Just toss the bag, and you’re done! My favorite part is skipping all the mess!
-
Juicy and Flavorful Turkey in a Bag Every Time
The turkey basically steams in its own juices (and the broth!), so it comes out unbelievably moist and flavorful. No more dry, bland turkey! It’s seriously a game changer, you have to try it!
Ingredients for the Perfect Turkey in a Bag
Alright, let’s gather our goodies! Here’s what you’ll need to make this amazing turkey in a bag recipe. Don’t skimp on the spices – they’re what give it that extra oomph!
- 1 (12-14 pound) turkey, thawed (Trust me, thawing is KEY! Don’t skip this!)
- 1 tablespoon olive oil
- 1 teaspoon salt
- 1/2 teaspoon black pepper
- 1/2 teaspoon garlic powder
- 1/2 teaspoon onion powder
- 1/4 teaspoon paprika
- 1 tablespoon all-purpose flour
- 1 cup chicken broth (Low sodium is my go-to!)
And that’s it! Pretty simple, right? Now, let’s get cooking!
How to Cook a Turkey in a Bag: Step-by-Step Instructions
Okay, here’s the deal. Follow these steps, and you’ll have a perfectly cooked turkey in a bag. I promise it’s easier than it sounds!
Preparing Your Turkey in a Bag
First things first, get that turkey ready! Remove the giblets and neck from the cavity – you know, those little baggies they stuff inside? Rinse the turkey really well, inside and out. Pat it completely dry with paper towels. Seriously, get it DRY! This helps the skin get a little bit golden (even though it’s in a bag!).
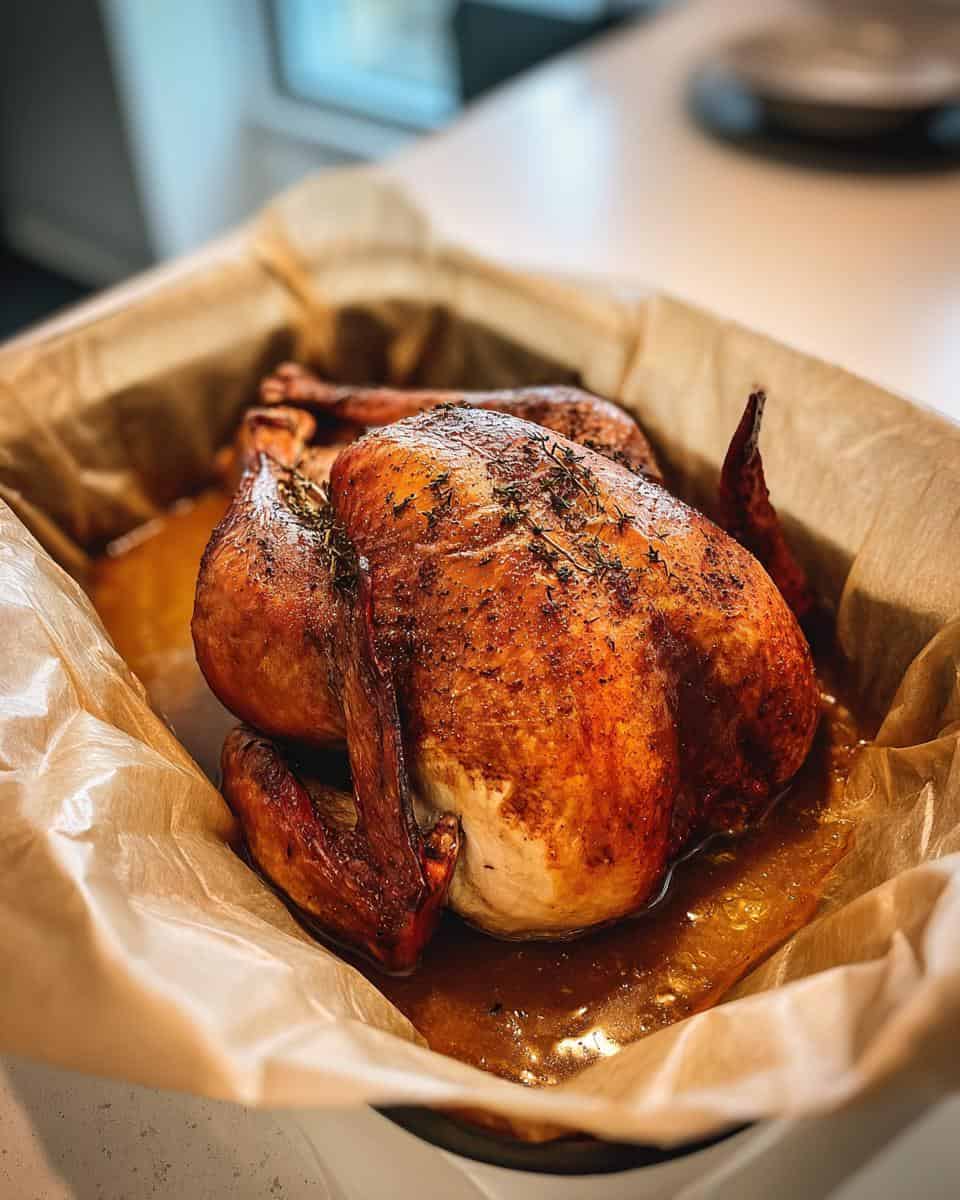
Seasoning Your Turkey for the Turkey in a Bag
Now for the fun part – the flavor! In a small bowl, mix together the olive oil, salt, pepper, garlic powder, onion powder, and paprika. It’s gonna smell amazing already! Rub this mixture ALL over the turkey, making sure you get every nook and cranny. Under the skin of the breast is great too if you’re feeling ambitious! This step is key for a flavorful bird.
Baking Your Turkey in a Bag
Okay, time to get bagging! Preheat your oven to 350 degrees F (175 degrees C). This is important; don’t toss the bird in a cold oven! Place a tablespoon of flour in the oven bag – this helps prevent the bag from bursting. Shake it around to coat the inside. Then, put the bag in a roasting pan. Gently place the turkey inside the bag. Pour the chicken broth into the bag around the turkey. Now, close the bag with the tie that came with it (usually a little plastic thingy). And VERY IMPORTANT: cut six 1/2-inch slits in the top of the bag. This lets steam escape and prevents explosions! Trust me, you don’t want a turkey explosion.
Ensuring Your Turkey in a Bag is Cooked Perfectly
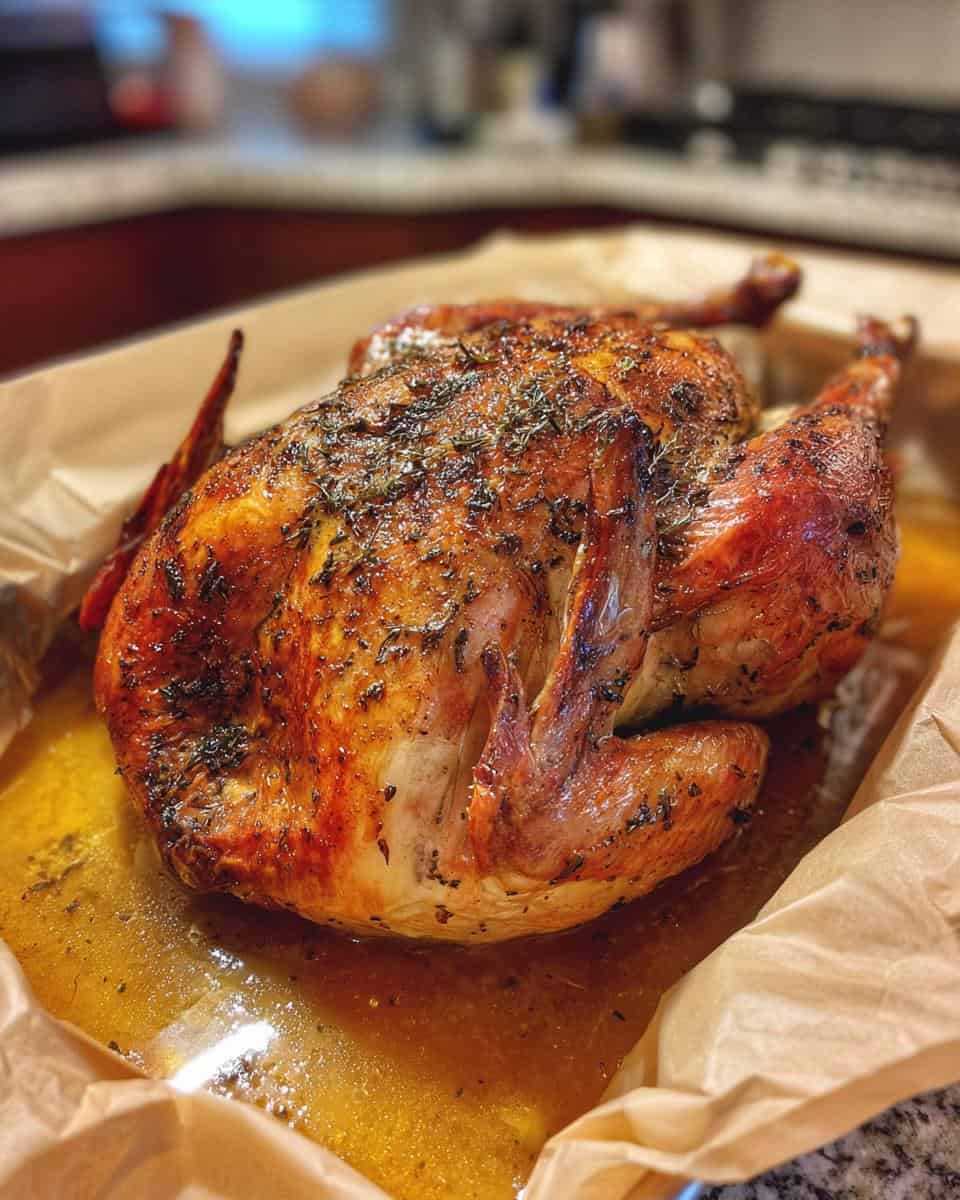
Bake for 2 to 2.5 hours, BUT the *real* way to know it’s done is with a meat thermometer. Stick it into the thickest part of the thigh (without touching the bone!), and when it registers 165 degrees F (74 degrees C), you’re good to go! If the skin starts to get too dark, you can carefully open the oven and tent the bag with foil. Careful, hot steam will escape!
Resting and Carving Your Turkey in a Bag
Once the turkey is cooked, let it rest for 10-15 minutes before carving. This lets the juices redistribute, so it stays nice and moist. Tent it loosely with foil while it rests. Then, carve that beauty up and get ready to dig in!
Tips for the Best Turkey in a Bag
Want to take your turkey in a bag game to the *next* level? Here are a few little secrets I’ve learned over the years!
- Thaw that bird! Seriously, a fully thawed turkey is essential. Give it plenty of time in the fridge. Don’t try to rush it!
- Temperature is key! Use a meat thermometer, people! It’s the only way to be sure your turkey is cooked to a safe temperature. Don’t guess!
- Veggies are your friends! Toss some carrots, celery, and onions into the bag with the turkey. They add amazing flavor to the broth and make a delicious side dish. My secret ingredient? A few sprigs of fresh thyme!
Follow these tips, and you’ll have a turkey in a bag that everyone will rave about. Promise!
Turkey in a Bag Variations
Okay, so you’ve mastered the basic turkey in a bag. Now, let’s get a little crazy! This recipe is super versatile, so feel free to play around with different flavors. My family loves it when I experiment!
- Herb it up! Try different herbs like rosemary, sage, or oregano. Fresh herbs are amazing, but dried work too in a pinch!
- Spice it nice! Add a little kick with some chili powder or smoked paprika. Just a little goes a long way!
- Veggie power! Don’t be afraid to load up on the veggies. Brussels sprouts, sweet potatoes, even apples can be a delicious addition.
- Marinade magic! Soak the turkey in a marinade overnight for extra flavor and moisture. A simple lemon-herb marinade is always a winner.
Seriously, the possibilities are endless! Just have fun and see what you come up with. You might just discover your new favorite turkey in a bag recipe!
Serving Suggestions for Your Delicious Turkey in a Bag
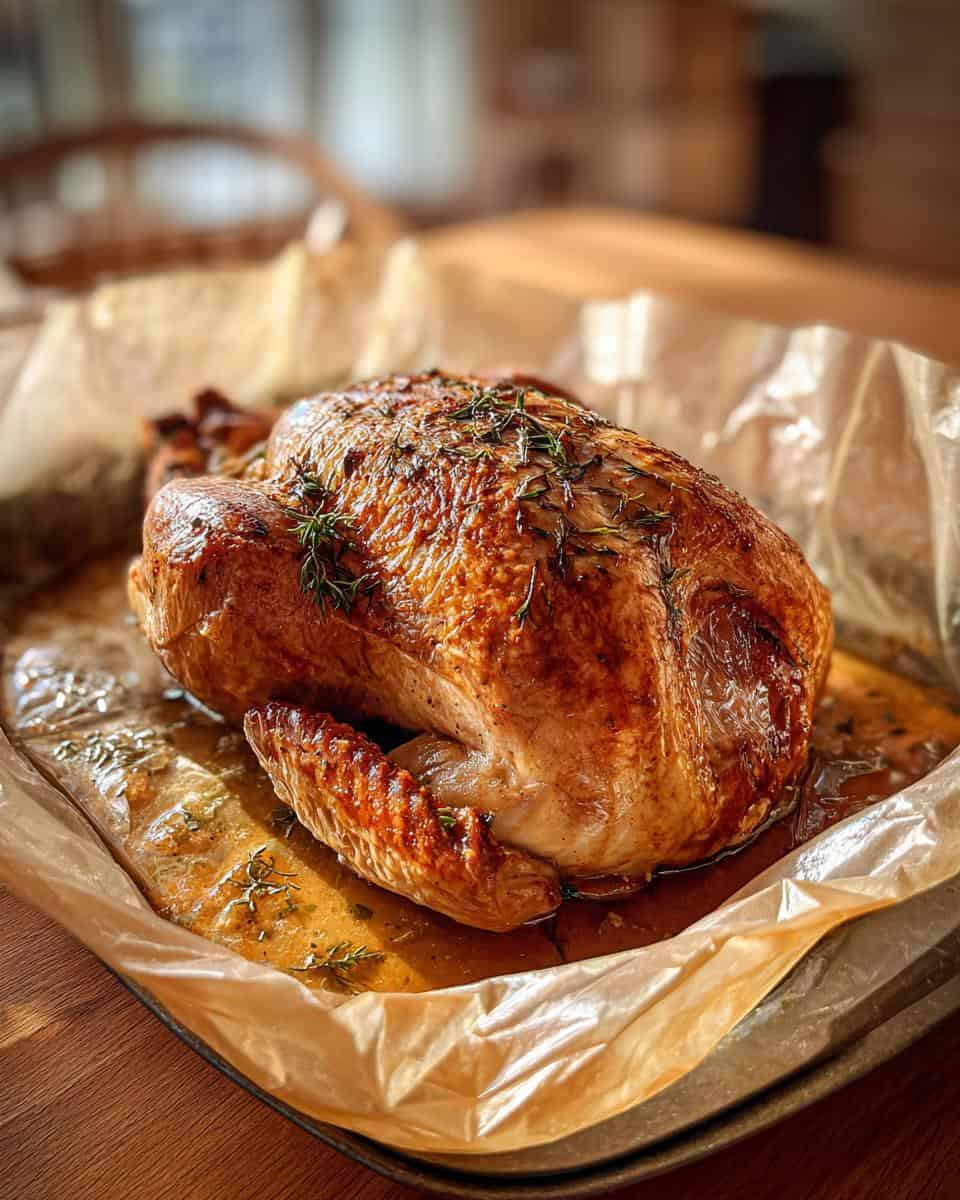
Okay, you’ve got this amazing turkey… now what? Well, you gotta have sides, right? My go-to’s are creamy mashed potatoes (duh!), classic stuffing (Grandma’s recipe, of course!), sweet cranberry sauce (the kind from a can – don’t judge!), and green bean casserole. It’s the perfect holiday feast!
Storing and Reheating Your Leftover Turkey in a Bag
Okay, so you’ve got leftovers (if you’re lucky!). Store that yummy turkey in an airtight container in the fridge – it’ll keep for about 3-4 days. When you’re ready to reheat, just pop it in the microwave or oven until it’s warmed through. I like to add a little chicken broth to keep it nice and moist. Don’t overheat it or it’ll dry out! Nobody wants dry turkey!
Turkey in a Bag: Frequently Asked Questions
Got questions about cooking your turkey in a bag? I’ve got answers! Here are a few of the most common things people ask me. Don’t worry, it’s easier than you think!
How do I prevent the turkey bag from melting?
Okay, this is a big one! Make SURE you cut those slits in the top of the bag! That’s super important for letting steam escape. Also, make sure the bag isn’t touching the sides of the oven. If it is, just adjust the roasting pan a bit. And always, ALWAYS use an oven bag that’s specifically made for cooking – don’t try to use a regular plastic bag! That’s a recipe for disaster!
What temperature should my turkey be?
Your turkey is cooked perfectly when a meat thermometer inserted into the thickest part of the thigh (without touching the bone!) registers 165 degrees F (74 degrees C). Don’t guess! Get a meat thermometer – it’s the only way to be sure!
Can I use a different type of broth?
Absolutely! I usually use chicken broth because it’s what I have on hand, but you can totally use turkey broth, vegetable broth, or even just water in a pinch. Just remember that the broth will add to the overall flavor, so choose one that you like! My mom swears by using a splash of white wine in the broth for extra flavor. I say, go for it!
Nutritional Information for Turkey in a Bag
Okay, so here’s the deal: nutrition info can vary *a ton* depending on the exact ingredients and brands you use. So, this is just an estimate, okay?
Enjoyed this Turkey in a Bag Recipe?
Did you love this easy turkey in a bag recipe? Let me know in the comments! And don’t forget to give it a rating – I’d love to hear what you think!
Print
Foolproof Turkey in a Bag: Ditch Thanksgiving Stress
- Prep Time: 15 minutes
- Cook Time: 2 hours 30 minutes
- Total Time: 2 hours 45 minutes
- Yield: 8-10 servings 1x
- Category: Main Course
- Method: Roasting
- Cuisine: American
- Diet: Gluten Free
Description
Roast a juicy and flavorful turkey effortlessly using an oven bag.
Ingredients
- 1 (12-14 pound) turkey, thawed
- 1 tablespoon olive oil
- 1 teaspoon salt
- 1/2 teaspoon black pepper
- 1/2 teaspoon garlic powder
- 1/2 teaspoon onion powder
- 1/4 teaspoon paprika
- 1 tablespoon all-purpose flour
- 1 cup chicken broth
Instructions
- Preheat oven to 350 degrees F (175 degrees C).
- Remove giblets and neck from turkey cavity. Rinse turkey and pat dry.
- In a small bowl, combine olive oil, salt, pepper, garlic powder, onion powder, and paprika.
- Rub the mixture all over the turkey.
- Place 1 tablespoon of flour in the oven bag and shake to coat the inside. Place bag in a roasting pan.
- Place turkey in the bag. Pour chicken broth into the bag around the turkey.
- Close the bag with the provided tie. Cut six 1/2-inch slits in the top of the bag.
- Bake for 2-2.5 hours, or until a meat thermometer inserted into the thickest part of the thigh registers 165 degrees F (74 degrees C).
- Let the turkey rest for 10-15 minutes before carving.
Notes
- Ensure the turkey is fully thawed before cooking.
- Use a meat thermometer to ensure the turkey is cooked to a safe internal temperature.
- For extra flavor, add vegetables like carrots, celery, and onions to the bag.
Nutrition
- Serving Size: 4 oz
- Calories: 250
- Sugar: 0g
- Sodium: 200mg
- Fat: 12g
- Saturated Fat: 3g
- Unsaturated Fat: 8g
- Trans Fat: 0g
- Carbohydrates: 2g
- Fiber: 0g
- Protein: 30g
- Cholesterol: 100mg

